I’ve been experimenting a little more with setting up Puppet. So far, I’ve successfully been able to get Puppet up and going – and now, I’m left with the feeling OK, that was neat I guess. Now what? There’s an ocean of possibilities when it comes to Puppet and its integration points with Azure – infrastructure as code to configuration management. I’m just scratching the surface, and I’m not pretending that any of the below is anything but the fumblings of a complete newbie. Still, I wanted to share with you my list of steps in preparing Puppet on Azure – as the first in what hopefully will be a series as I use Puppet as an engine to drive my DevOps learnings. Hope this helps!
Setting Up Your First Puppet Master in Azure
-
We need to set up Azure CLI first.
- Install (using the steps in this article) node.js from the official install site. You could do this on a VM, or right on your laptop.
- Command prompt – Admin privilege – run npm install azure-cli –global
- Then run command azure account download
- Take the file and save it somewhere convenient – I saved it to c:\junk\azure.publishsettings
- Then run azure account import {filename}
- I ran azure config mode arm at this point too in a command prompt.
- Install (using the steps in this article) node.js from the official install site. You could do this on a VM, or right on your laptop.
-
Then fill in azure account show to confirm you have the right account selected.
- Now we go to VisualStudio Online – login at https://app.vssps.visualstudio.com/profile/view?mkt=en-us and go to your VSO portal.
- On a new tab, go to the azure portal – https://manage.windowsazure.com/
- Click New, then Compute -> Virtual Machine -> From Gallery.
-
Then, select the Puppet Labs node, and select the latest build of Puppet Enterprise. On my build, this is 3.7.2.
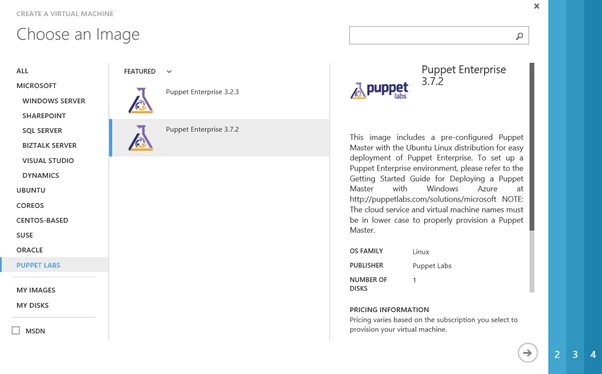
-
Choose a lower-case unique name of 3-15 characters. Standard Tier, Size at least A2, a username, and – choose a password over uploading an SSH key. This is obviously just for a demo.

-
then fill in your other values. Always select “create a new cloud service”, and open up three ports – 1) HTTPS (port 443), Puppet (8140), and MCollective (61613)
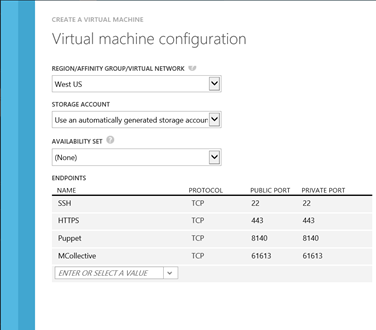
-
Go to a new browser window – it may take 10 minutes for this to appear and be fully provisioned/available – and access your URL. In my case, this is https://dhpuppetmaster.cloudapp.net . I don’t know yet what the password is, but I’m going to find out – in the next step.
-
Then, open up bitvise. (I’m really pleased with this SSH client in particular, but feel free to substitute whatever you like.)

- In the prompts that follow – go ahead and save the remote hosts public key when it prompts. Use the username and password you used in originally creating the VM.
- In the bitvise cmd prompt window that appears – don’t you just love linux? – run sudo grep ‘auth_user_email’ /etc/puppetlabs/installer/answers.install. Write down the user information it gives you. In this case it’s admin@dhpuppetmaster.cloudapp.net
-
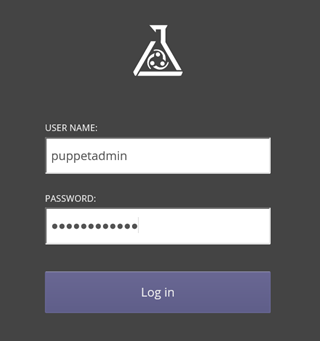
Now run sudo grep ‘auth_password’ /etc/puppetlabs/installer/database_info.install

-
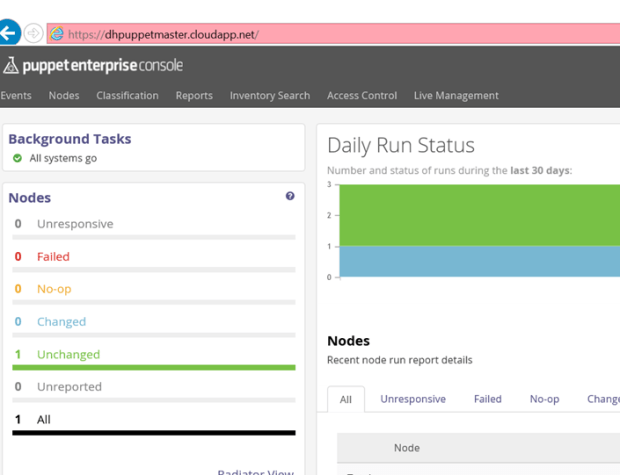
Then go back and check out that URL for your Puppet master box – in my case https://dhpuppetmaster.cloudapp.net/ OMG what am I looking at here? ISn’t this great?

Setting Up a Node
-
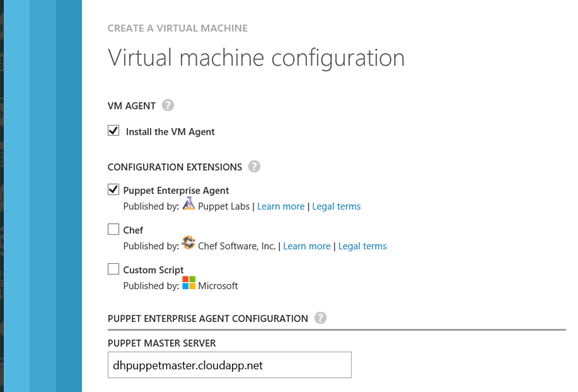
Now we’ve set up a Puppet Master – let’s set up a node. Create a VM – same as above, but this time let’s create a Windows Server 2012 from the Gallery. Remember to make the name lowercase – everything else can be default values.

-
The tricky part is the last page – here you want to select the Puppet Agent checkbox. Fill in the name of your Puppet server.
- Then – once its done spinning up – go back to your Puppet admin window, and select Node Requests on the top right. You should see your new node’s request in the list. Approve it – and congrats! You now are all set up with a Puppet master and a node.

-
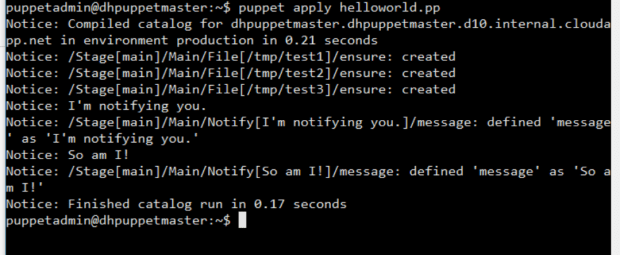
OK, now I have a working Puppet node and puppetmaster set of VM’s. Now what? Well, following the steps in this blog post – he had as many problems with the obtuse and overly generic Puppet documentation as I did! – I created a text file called helloworld.pp in a junk directory, copied it over to my root folder (/home/puppetadmin) using FTP, and then ran puppet apply hello_world.pp. (The contents of the .pp file are in the article link.) I’m sure I’m violating all kinds of best practices here but in the absence of better documentation – here it is.
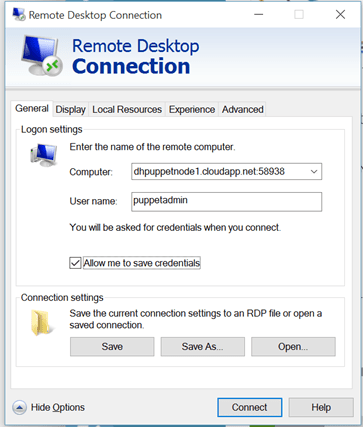
- Did it work though? I RDP onto the box – look at the Endpoints tab to view the dynamically changing public endpoint for RDP –
-
Anddddddd I see – nothing. Wow. So, clearly I’m missing something. It’s at this point – after a few hours of fumbling around – that I am admitting I’m like a six year old with scissors here. Time to go back to the drawing board and figure out more about how Puppet likes to work – before “learning by doing”.
Links Goodness
I will continue this with some more posts later. But in the meantime, here’s some helpful URL’s that may be of use to you in your DevOps quest:
- Puppet on Azure video demo: https://msopentech.com/blog/2014/09/15/puppet-enterprise-on-microsoft-azure/
- A crappy walkthrough but lots of explicity writeup http://haishibai.blogspot.com/2014/02/walkthrough-puppet-master-in-action-on.html
- Great article here on pluses and minuses of Puppet vs its nearest competitor, Chef: https://www.scriptrock.com/articles/puppet-vs.-chef-revisited
- Editing Puppet Files in Visual Studio
- Using Vagrant and Puppet to Manage A Development Environment
- Building a Development Environment With Vagrant and Puppet

Oh my goodness! Incredible article dude! Many thanks.
Amazing post and thanks for sharing the screen shots which is really helpful for the implementataion
Greeat reading this