So recently I was asked to put together a pilot website for a friend who’s not super tech-savvy. His business may or may not ever get off the ground; like most of us he’s wanting to float something out there and see if it goes somewhere. An internet storefront seemed like a great place to start.
OK, so after the requisite weeks of haggling over the name, I scaffolded out a site and posted it on Azure. I’m happy to announce that the site is awesome, very responsive – and best of all, free. It’s a VERY good use case for what Azure does very well – quick ramp-up sites that may or may not see full-size production traffic.
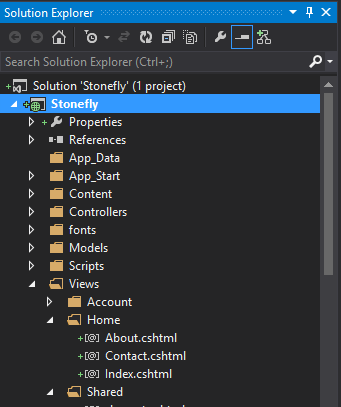
My first step was to create a Visual Studio Online project. This was simple – see below:

Following this I opened up the project in Visual Studio 2013. I had to map the workspace and pull down the code – in this case it was empty – before we could see our old friend Source Control Explorer.

Now, to work. I clicked, File, New Project, and selected ASP.NET Web Application. I selected Application Insights and synched it up with my new stonefly.visualstudio.com account.

I used the MVC option as my main option – but also added WebForms and WebAPI in case I want to tack them on in the future. Now, I’ve got a set of code available – that I can see is ready to be checked in. Right mouse click that baby and check in the code!
Back to your Azure account. Click on New Web Site and select the Custom Create option. I entered in my desired URL and a bare-bones SQL option – and, this is important, selected the Publish From Source Control option.

Selecting that option took me to the authorize connection screen in Azure, where I synched up my stonefly.visualstudio.com sourcecode with the new Azure website that was being spun up. Select the Authorize Now option here.

Once I did this, it took me back to Visual Studio 2013 – where a publish profile was ready to go for me. I skipped through the now-familiar Profile -> Connection -> Settings -> Preview steps – they were all set up nicely by the Azure publish profile – and clicked Publish.

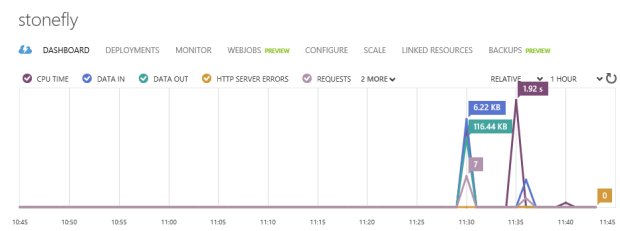
… and, my site was published – lickity split. I could view it on stonefly. I also get all that cool less-is-more Azure dashboarding, showing requests/response time:
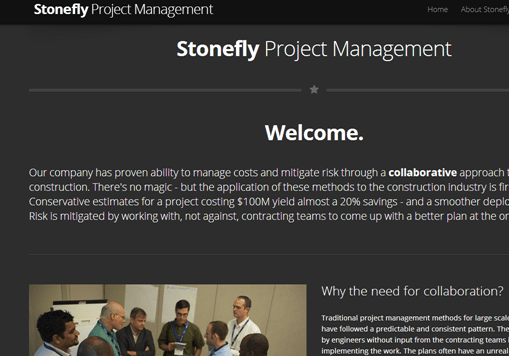
Best of all, I now have my site up and my code available in a repository that I can access anywhere. Feel free to check it out. No need to walk around with thumbdrives anymore. And, there’s something about building out a demo site quick and cheaply like this that appeals to me. Add to it that my TFSOnline account was free – yes, free (if MSFT ever changes that I could move over to GitHub) – and the case for handling this in Azure versus going all-out and spinning it up on discountasp.net or the like becomes pretty compelling. This is enough for my friend to evaluate and decide on next steps. Sprinkle in some HTML and CSS, and suddenly we’ve got ourselves a going concern:
Now, I could buy a DNS address (like, I don’t know, stoneflysoftware.azu or the like) and register it with Azure. But I probably won’t. As you can see from this site, it ain’t cheap – we’re talking $56/month for basic, which is a great deal if you have 6 or more sites you’d like to host, or you need true geodistributed 99.9% HA coverage on your site. Scott Hanselman has a whole series of articles on pennypinching with Azure that I’d recommend, including this nifty video on using Azure as a CDN.

Generally I don’t read post on blogs, but I would like to say that this write-up very compelled me to check out and do it!
Your writing style has been amazed me. Thank you, very nice article.